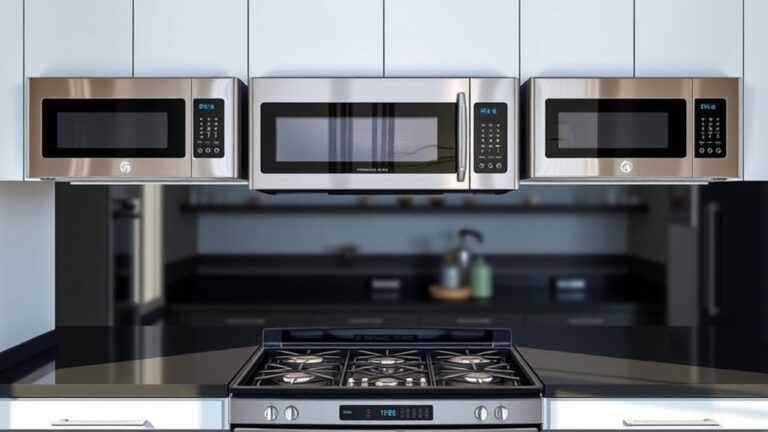

How to Identify Key Parts of an Oven
Struggling to identify the parts of your oven when something stops working? You’re not alone—many people find oven troubleshooting confusing, especially when deciding which components matter most. This guide to the key parts of an oven will help you understand what to look for before choosing the right tools, replacement parts, or repair solution.
You can identify an oven’s key parts by opening the door and looking: racks slide on rails, the bake element sits at the bottom and the broil element at the top, and a convection fan usually lives on the rear wall.
The thermostat or temperature sensor is mounted inside or behind the control panel, while gaskets seal the door and vents release steam. Check for igniters and burners on gas models.
Keep going to learn simple tests and troubleshooting tips.
Key Takeaways
- Locate the door, hinges, and perimeter gasket to check sealing and visible wear.
- Identify the bake and broil heating elements by position: the bake element is at the bottom, and the broil element is at the top.
- Find the convection fan on the rear wall and the rear heating element, if present.
- Locate the thermostat or sensor inside the cavity or behind the control panel. Use an oven thermometer for calibration.
- Note the rack positions, guide rails, vents, and control panel for mode, timer, and airflow control.
Visual Guide: Oven Part Locations
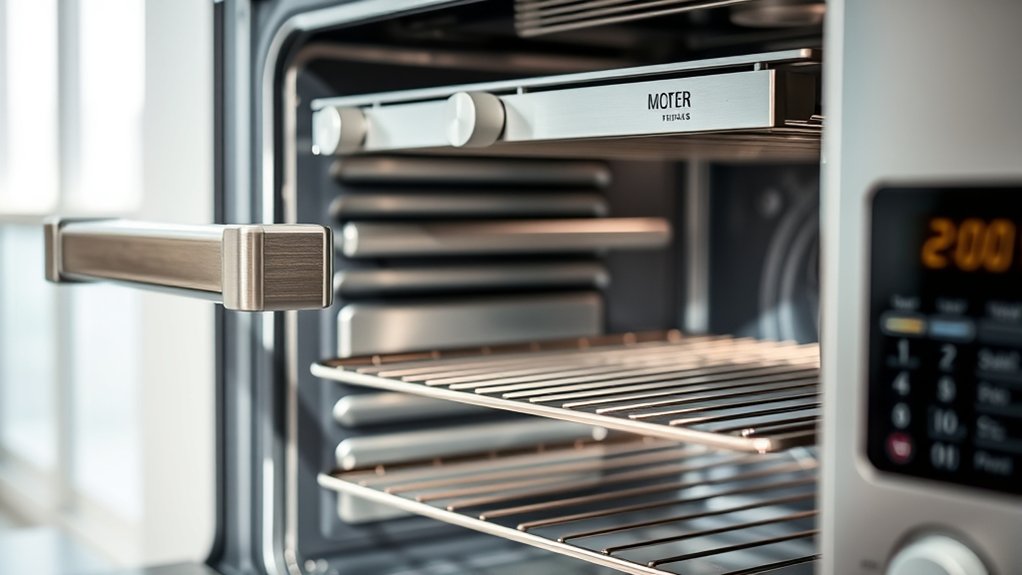
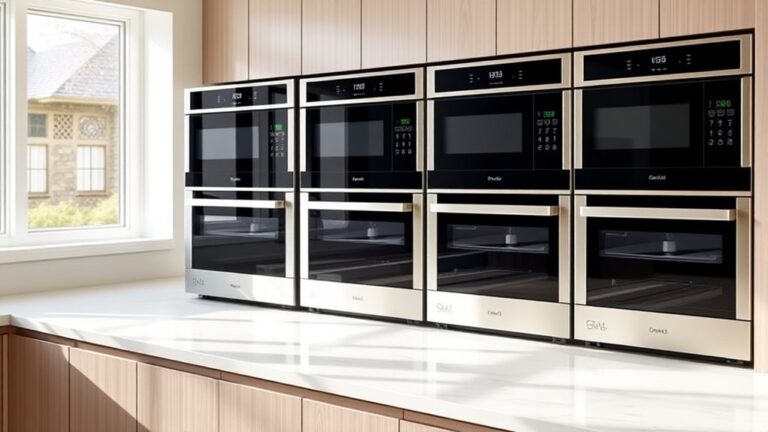
Where do the oven’s major parts sit and how do they work together? You’ll find the Oven interior centered in the appliance: racks slide in the middle, a light and thermometer sit near the back, and vents or fans often occupy the rear or ceiling.
The oven’s interior sits center-stage: sliding racks, rear light and thermometer, and vents or fans up top.
The door hinges at the front so heat seals when closed; gaskets line the perimeter. Controls and display cluster on the control panel above or on the front face, letting you select Cooking modes and set timers without opening the cavity.
Below the Oven interior, a drawer or broiler compartment may hide additional elements or storage. On gas models, pilot or ignition parts sit near the base; electric ovens route wiring and relays behind the control panel.
Shelves, racks, and trays align with guide rails so you can position food relative to heat sources. Knowing each component’s location helps you troubleshoot, change settings, and maintain the oven efficiently.
Oven Heating Elements: Bake, Broil, Convection
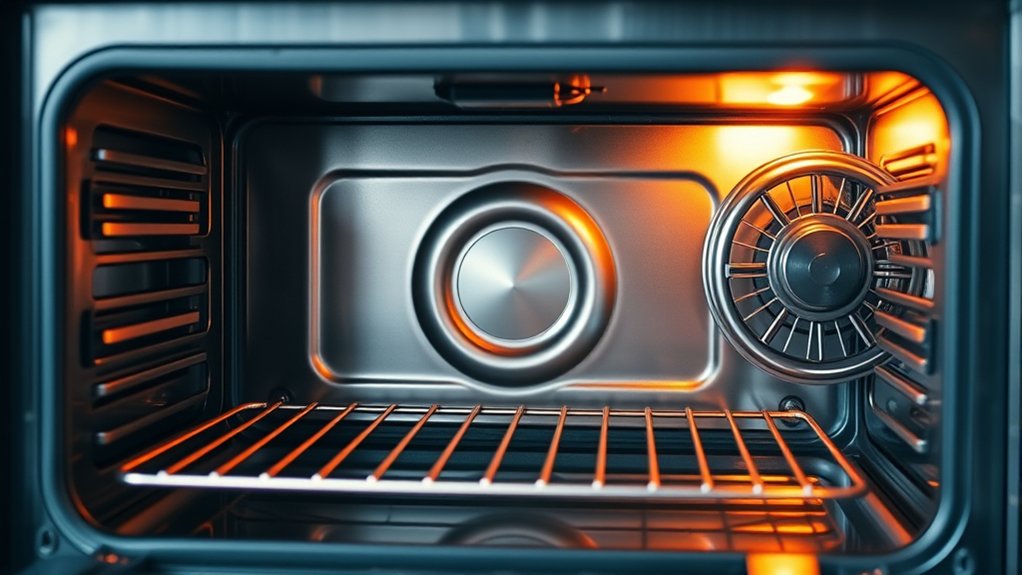
If you want even, all-around cooking, the bake element provides steady, bottom and/or hidden heat that surrounds food inside the cavity. The broil element sits at the top to deliver direct, intense heat for browning, and convection ovens add a fan that circulates hot air so dishes cook faster and more evenly.
You’ll see the bake element along the oven’s floor or tucked beneath a panel. It’s ideal for roasting and baking. The broil element lives at the top and gives quick, high-heat finishes.
In convection models, the fan and rear heating element work together to reduce hot spots and shorten cook times. Keep elements visible and free of heavy residue. Regular oven cleaning prevents smoke and maintains energy efficiency by allowing heat to transfer properly.
If an element glows unevenly, crackles, or won’t heat, it likely needs replacement. You can test connections and continuity, but unplug the appliance first. For safety, call a qualified technician if you’re unsure.
Oven Thermostat and Controls

You’ll usually find the oven thermostat behind the control panel or mounted inside the oven cavity. Knowing where it is makes it easier to check the oven’s temperature accuracy.
To test and calibrate the thermostat, place an oven thermometer inside and compare its reading with the set temperature. If the oven runs hot or cold, adjust the temperature offset if your model allows it.
It also helps to learn what each control does, including the knobs, digital display, and preset cooking modes. That way, you can set the temperature and select the right function with confidence.
Thermostat Location Basics
Because the thermostat tells the oven when to heat and stop, knowing where it’s located helps you diagnose temperature issues and read controls more confidently. Typically it’s mounted behind the control panel, near the top or on the rear wall inside the oven cavity, or attached to the oven door assembly.
You can often spot a sensing bulb or small probe projecting into the cavity; on digital models the sensor sits behind the back wall. When you clean the oven, avoid jamming cleaners into sensor openings—gentle oven cleaning preserves sensor accuracy.
Knowing sensor placement also helps with cooking techniques: position racks so heat circulates around the sensor for even results. If you remove panels, disconnect power first and note all fasteners for safe reassembly.
Temperature Calibration Tips
Now that you know where the thermostat and sensor sit, you can focus on making sure they read temperatures accurately. Start by using an oven-safe thermometer on the middle rack, preheating to a set temperature and noting any variance.
If readings are off by more than 10°F, adjust the calibration screw or digital offset per your manual. Repeat tests at multiple temperatures to confirm consistency.
Keep sensors clean and unobstructed. Regular oven cleaning prevents residue from insulating the sensor and causing false readings.
Accurate calibration improves cooking results and supports energy efficiency by avoiding overcooking and wasted heat. If adjustments don’t help, replace the sensor or call a technician rather than tampering with control electronics.
Control Panel Functions
When you interact with the oven’s control panel, you’re setting temperature, mode, and timing through a mix of knobs, buttons, and digital displays that communicate directly with the thermostat and control board.
You’ll learn what each control does: temperature dials set the thermostat, mode selectors choose bake, broil, or convection, and timers coordinate cooking duration.
Digital panels often let you preheat, set delayed starts, and lock controls for safety. Keep buttons clean during oven cleaning to prevent sticky residues that can interfere with sensors.
Understand indicator lights and error codes so you can troubleshoot or call a technician. Proper use of the control panel improves energy efficiency by avoiding overcooking and minimizing preheat time, which can extend appliance life.
Oven Racks and Rail Placement Tips
Although oven racks may seem simple, their placement makes a big difference in how your dishes cook. Position racks based on what you’re baking: center for even heating, top third for broiling or crisping, and lower third for slow roasting.
Although simple, rack placement transforms cooking—center for even heat, top for crisping, lower for slow roasts
Move racks before you preheat to avoid warping and keep heat consistent. Use the recommended spacing in your oven manual so air can circulate.
Overcrowding alters temperature distribution and extends cook times, affecting energy efficiency. Remove and clean racks separately during oven cleaning to prevent greasy buildup that can hinder airflow and performance.
Slide racks in and out smoothly along the rails without forcing them. If they stick, inspect the rails for dents or debris, and lubricate heat-safe spots with a small amount of cooking oil.
For heavy dishes, choose the more stable lower rail positions. Make sure the rails lock or seat fully to prevent tipping.
Rotate pans between racks mid-cycle when recipes call for even browning.
Door, Seal, and Window: Spotting Leaks
Rack placement affects heat flow inside the oven, but the door, seal, and window control whether that heat stays put. You’ll inspect the oven door for warped edges, loose hinges, or a misaligned latch that stops it from closing firmly.
Check the door seal for cracks, gaps, or compression. Any break lets heat escape and lengthens cooking time. Clean glass windows so you can spot condensation or darkened corners that signal leaks.
| Area to Check | What to Look For | Action |
|---|---|---|
| Oven door | Gaps when closed | Tighten or realign hinges |
| Door seal | Cracks or hardening | Replace gasket |
| Window | Condensation | Clean; inspect seal |
| Latch & hinges | Play or sag | Adjust or replace |
| Visual test | Light escape at edges | Test with flashlight |
If you find leaks, swap the gasket or adjust the door. Small fixes restore efficiency and safety.
Oven Vents, Fans, and Convection System
Check where your oven’s vents are—usually at the back, top, or around the door—so you know how heat and steam escape. You’ll also find the convection fan inside the oven cavity. It circulates hot air for more even cooking and faster bake times. Knowing where the vents are and how the fan works can help you troubleshoot hot spots and get better results.
Vent Locations Explained
When you open the oven manual or peek behind the cavity, you’ll notice vents and fan openings that look simple but play distinct roles in heat distribution and safety. Understanding where they’re located helps you diagnose performance issues and use the oven correctly.
You’ll find exhaust vents along the top or rear to release steam and excess heat so seals around the oven door stay effective. Intake vents near the base feed air to cooling fans that protect controls and wiring.
Some models hide vents behind trim or near the broiler compartment, so check around the interior lighting and gasket for blocked openings. Regularly clear debris and avoid covering vents when cleaning or loading pans to keep airflow efficient and safe.
Convection Fan Function
Now that you’re familiar with where vents sit and how they move air, look at the convection fan itself: it actively circulates heated air around the cavity so food cooks faster and more evenly than with radiant heat alone.
You’ll notice it’s usually mounted on the rear wall. When it runs, you’ll hear a steady hum and feel airflow if you place your hand near the open oven door.
For safe operation, follow routine convection fan maintenance: keep blades clean, clear debris, and tighten mounting screws to prevent wobble.
If the motor stalls, makes grinding noises, or the fan won’t start, arrange professional convection fan replacement rather than forcing repairs.
Understanding this component helps you troubleshoot uneven cooking and extend oven life.
Gas Oven Parts: Igniters, Burners, and Valves
Although gas ovens look simple from the outside, their performance depends on three critical components: the igniter, the burner, and the gas valve.
Although gas ovens seem simple, their performance hinges on three key parts: igniter, burner, and gas valve.
The igniter lights the gas. If it’s weak or cracked, the oven won’t heat reliably. The burner spreads flame evenly across the cavity, so keep it clear during oven cleaning to avoid soot buildup that reduces energy efficiency.
The gas valve controls fuel flow and must seal tightly for safety and consistent cooking.
- The igniter: ceramic or hot-surface piece that starts combustion, often behind a panel.
- The burner: metal ring with ports; inspect for clogs and corrosion that alter flame shape.
- The gas valve: mechanical or electronic assembly that meters gas and coordinates with safety switches.
Visually check these parts for damage, tight connections, and cleanliness. Call a technician if you detect a gas odor, persistent ignition failure, or visible leaks.
How to Test Oven Temperature and Other Quick Checks
How accurate is your oven’s temperature, and how quickly can you check it? Start by placing an oven-safe thermometer on the middle rack and preheating to a set temperature (350°F/175°C is common). Let it stabilize for 15–20 minutes, then compare the thermometer reading to the dial.
Repeat at different settings if you suspect inconsistency. For a quick check of heat distribution, set three thermometers at the front, middle, and back. Large variances suggest uneven heating.
Also inspect the door seals, hinges, and broiler element for visible damage. These can affect how well the oven holds temperature.
Perform a smoke-free oven cleaning to remove grease that can skew readings and trigger odors. Follow oven safety tips, such as unplugging electric ovens or shutting off the gas before deeper work.
If readings are off by more than 25°F or the heat remains uneven after basic checks, note the results before calling a technician.
Common Fault Signs and Likely Causes
If your oven cooks unevenly, leaving hot spots or cold zones, check the heating elements, thermostat, and door seal.
A persistent burning smell may be caused by food residue, damaged insulation, or an electrical problem with the wiring or heating elements. Address these warning signs promptly to prevent further damage or safety hazards.
Uneven Heating Patterns
Noticing hot spots or cold zones in your oven? You’ll see uneven cooking, where the cooking temperature reads right yet dishes brown unevenly. That’s a sign your oven’s heating consistency is impaired.
Common causes include faulty bake or broil elements, a failing thermostat, or warped racks that block airflow. You can test zones with an oven thermometer and a sheet pan of cookies to map patterns.
- One corner browns faster while the opposite stays pale.
- Center items undercook while edges overcook.
- A single rack shows varied doneness across its width.
Address parts: inspect elements for breaks, check thermostat calibration, and verify racks sit level. Fixing these restores even heat and reliable results.
Burning Smells
Smelling something burning when you turn on the oven? If you catch a faint chemical or electrical odor, turn the oven off and unplug it if you can.
Burning smells often come from leftover food, grease on heating elements, or a failing element that’s overheating. A hot plastic or electrical scent can indicate damaged wiring or insulation, so don’t dismiss it.
Clean visible debris and inspect the bake and broil elements for blistering or breaks. Test the oven briefly after cleaning; if the smell persists, call a technician.
Keep a working smoke detector nearby and ensure kitchen ventilation is on when you run the oven to clear fumes. Address burning smells early to avoid fire risk and appliance damage.
When to Call a Technician and What to Report
When your oven shows persistent problems, such as failing to heat, sparking, leaking gas, or cycling unpredictably, call a technician right away. Be ready to describe what’s happening, when it started, any error codes or lights, recent repairs, and whether the issue is constant or intermittent.
If your oven repeatedly fails, sparks, leaks gas, or cycles oddly, call a technician promptly and note details.
Don’t wait if you smell gas, see smoke, or notice burning smells after oven cleaning. These are immediate kitchen safety concerns.
A professional can diagnose electrical faults, gas valve issues, thermostat failures, or control board problems.
- Note recent maintenance, such as self-clean cycles or part replacements, and whether symptoms began afterward.
- Record error codes, indicator lights, unusual noises, and exact behaviors, such as heating and then stopping or clicking before ignition.
- Tell the technician about environmental factors, including power surges, tripped breakers, or the appliance’s age.
Being precise saves time and may prevent unnecessary parts replacement. Have photos, model and serial numbers, and your observations ready when the technician arrives.
Frequently Asked Questions
How Do I Clean Burned-On Spills Without Damaging Heating Elements?
You’ll let the oven cool, remove racks, and use gentle cleaning techniques to loosen burned-on spills without touching heating elements. Mix baking soda and water to a paste, apply to scorched areas, let sit, then wipe with a damp cloth.
For stubborn spots, use a plastic scraper and repeat. You’ll avoid harsh abrasives, prevent damage by keeping cleaners off element surfaces, and dry thoroughly before restoring power. Damage prevention comes first.
Can I Replace Oven Parts Myself Safely and What Tools Are Needed?
Yes, you can do some DIY repairs safely, but you’ll want to follow strict safety precautions. You’ll need basic tools: screwdrivers, multimeter, wrench set, needle-nose pliers, and replacement parts.
Turn off power, unplug the oven, and verify circuits with the multimeter. Don’t attempt sealed-system or gas-valve work unless licensed.
If you’re unsure, hire a pro to avoid injury, fire, or voiding warranties.
Which Oven Parts Are Covered by Typical Warranties?
Most warranties cover major components like the heating elements, thermostat, control board, and door assembly. These parts are prone to common defects.
Picture a simple diagram with the elements, control, and door labeled. You’ll usually get coverage for manufacturing defects for a year, though some parts may have longer coverage.
Consumables like light bulbs, gaskets, and other wear items often aren’t covered. Check your specific warranty coverage and terms before assuming repairs are free.
Are Replacement Parts Universal Across Brands and Models?
No, replacement parts aren’t universal. Check brand compatibility and part standardization before buying. Manufacturers vary designs, mounting, connectors, and software, so similarly named parts can differ.
Match exact model numbers or OEM part codes, or use verified aftermarket suppliers that guarantee compatibility. If you’re unsure, consult your manual, contact the manufacturer, or have a technician confirm compatibility to avoid installation problems or voided warranties.
How Do I Recycle or Dispose of Old Oven Components?
You can’t just toss oven parts into the void. You’ll want appliance recycling or eco-friendly disposal. Check local recycling centers or municipal bulky-waste programs; many accept metal, glass, and electronics.
Remove hazardous components like insulation, thermostats, or electronic controls, and take them to hazardous-waste drop-offs. Some retailers and scrap yards also accept working parts.
If you’re unsure, call your city’s waste hotline or a certified appliance recycler to ask about pickup options.
Conclusion
Think of your oven as a small, honest workshop: each part is a tool that either works properly or signals trouble. You’ve learned to spot the heating elements, thermostat, racks, seals, and gas components, and to run simple temperature checks.
When something whispers instead of working, you’ll know whether to tighten, clean, or call a professional. Keep observing because attention now can prevent bigger repairs later.
By understanding the key parts of an oven and caring for them properly, you can keep your oven safe, efficient, and reliable.