7 Simple Steps to Cook Using an Induction Cooker
Cooking with an induction cooker can feel tricky at first, especially if your pans don’t heat evenly or the controls seem unfamiliar. You’re not alone—many people struggle to get the right cookware, temperature, and setup.
The good news is that a few simple habits can make induction cooking faster, safer, and more energy-efficient.
Pick magnetic, flat-bottomed pans and test with a magnet. Clean and level the hob, leave space for ventilation, and plug in safely. Center pots on marked zones for even heating.
Choose heat: high to sear, medium-high to boil, low to simmer. Preheat briefly, use lids to save energy, and match pan size to the burner.
Wipe spills after cooling and check cords regularly. Follow these steps, and keep going to learn handy tips and troubleshooting.
Key Takeaways
- Ensure your pan is induction-compatible, flat-bottomed, and centered on the burner for reliable sensing and even heating.
- Clean the cooktop, plug in the unit, and leave ventilation space; level the unit if portable.
- Preheat briefly on medium-high, then adjust heat gradually to suit searing, boiling, or simmering.
- Use lids, match pan size to the zone, and turn the cooker off a few minutes early to use residual heat.
- Wipe spills after cooling with a soft cloth, use nonabrasive cleaners, and contact a technician for persistent errors.
Pick Induction-Compatible Cookware
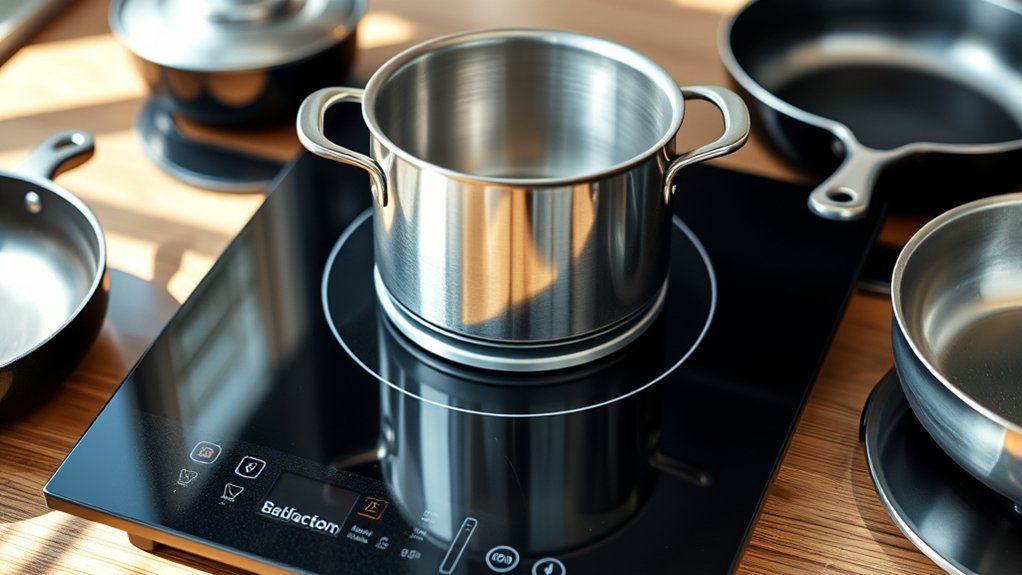
Because induction cookers heat via magnetic fields, you’ll need cookware with a ferrous (magnetic) base—think cast iron or magnetic stainless steel. You’ll test material compatibility by placing a magnet on the bottom; if it sticks firmly, the pan will work.
Pick flat-bottomed pieces so the cooktop senses them reliably and transfers heat efficiently. Choose a range of sizes that match your burner zones to avoid wasted energy and uneven cooking.
Consider performance and cookware maintenance: avoid warped or scratched bottoms, and follow manufacturer care instructions to preserve the magnetic layer. Don’t use tri-ply aluminum or copper unless they include a magnetic layer.
If you already own non-compatible pans, buy adapters or a single induction-ready skillet instead of replacing everything at once. Finally, inspect handles and lids for oven safety and stability so you can cook confidently and safely on your induction unit.
Clean, Level, and Position Your Induction Unit
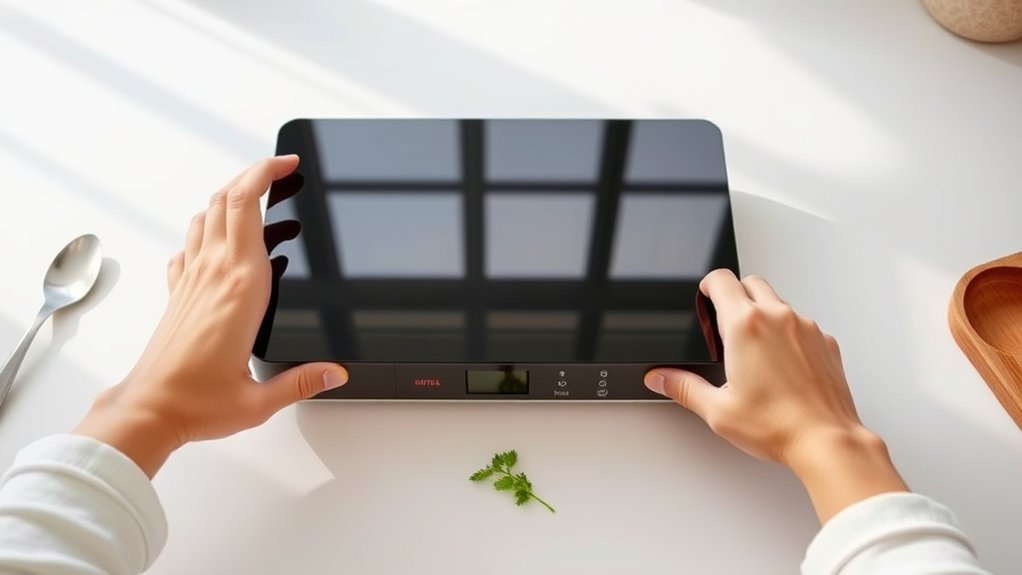
Before you start cooking, clean the surface, level the unit, and position it where you can work safely and comfortably. Wipe away spills with a soft cloth and mild cleaner to keep surface maintenance simple. Avoid abrasive pads that can scratch the glass.
Check the feet or base. Use a small level and adjust the supports so the unit sits flat. This helps maintain consistent power calibration and prevents pots from sliding.
| Task | Tip |
|---|---|
| Clean | Use gentle cleaner, dry thoroughly |
| Level | Adjust feet, verify with a level |
| Position | Keep near outlets, clear workspace |
Place the cooker where cords won’t trail and ventilation won’t be blocked. Leave enough counter space for handling hot pans and utensils.
If your model requires calibration, follow the manual’s power calibration steps after leveling so heat output is accurate. Regularly inspect seals and vents as part of routine upkeep to reduce safety risks and keep performance reliable.
Center Pots and Pans on the Induction Hob
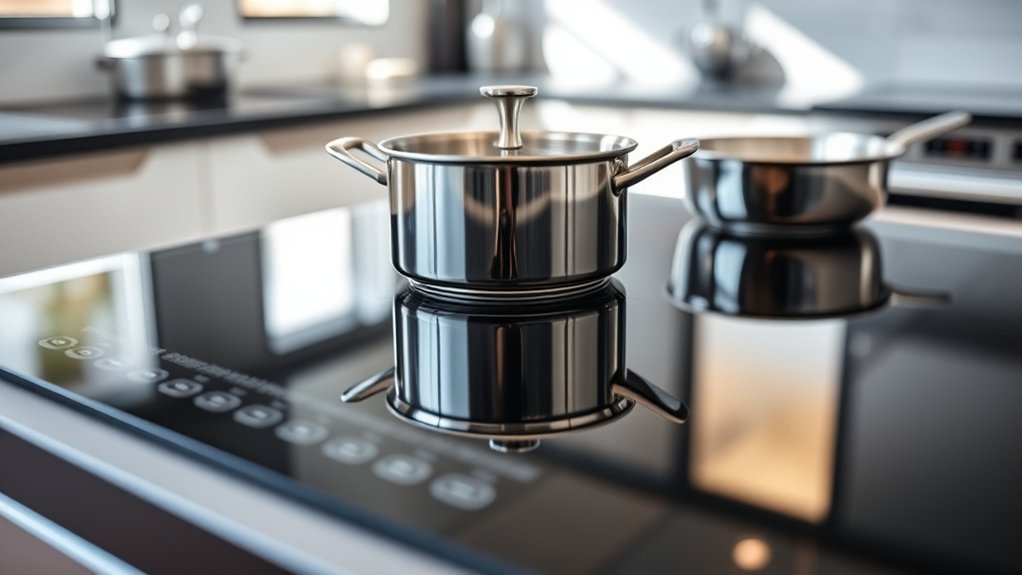
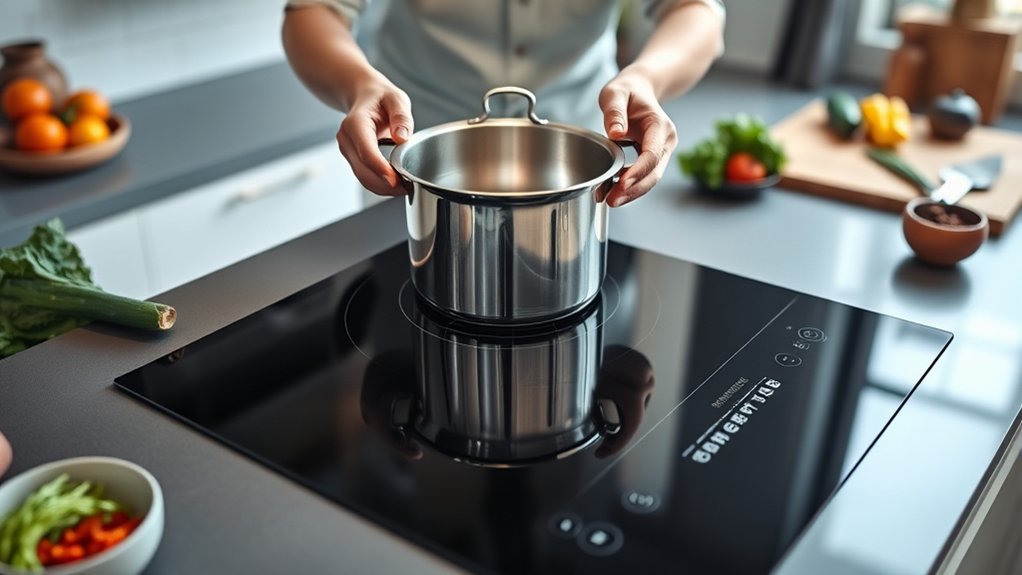
When you place a pot or pan directly over the induction coil, the cooktop heats faster and more efficiently, so center cookware carefully to guarantee even contact and consistent temperature control. Aim for precise center placement each time; the hob senses metal closest to the coil, so slight offsets can cause uneven heating or trigger safety shutoffs.
Use the hob’s ring markings or built‑in guides to align cookware alignment and verify the base sits flat. If a pan wobbles, reposition it or replace it—warped bases reduce magnetic coupling.
Use ring markings or guides to center cookware; ensure a flat, wobble‑free base—replace warped pans for proper magnetic contact.
For multi-piece cookware, center the largest piece on the zone and avoid overlapping edges that confuse sensors. When you lift and set cookware down, do so gently to keep alignment steady.
If you notice inconsistent response across the surface, test with a different pan to confirm whether the issue is cookware or hob-related. Proper center placement and strict cookware alignment save energy and improve cooking results.
Pick the Right Heat Level (Sear, Simmer, Boil)
Pick a heat level that matches the task: use high heat for a quick sear, medium-low for a gentle simmer, and medium-high for a rolling boil. Keep an eye on the food, and adjust the power gradually instead of switching between extremes. Making small changes based on how the food responds will help you get better results and avoid overcooking.
Match Heat To Task
If you want consistent results on an induction cooker, match the heat setting to the task: high for searing, medium-low for simmering, and medium-high to bring liquids to a boil quickly. You’ll rely on precise temperature control and small heat adjustment steps to get reliable outcomes.
Use high heat to form a crust, then drop to medium to finish. For simmering, pick a low, steady setting and watch for gentle bubbles.
When boiling, ramp up, then reduce slightly to maintain vigor without splatter. Trust the cooker’s quick response: change settings deliberately and wait a few seconds for the pan to follow.
| Task | Recommended Setting |
|---|---|
| Sear | High |
| Simmer | Medium-low |
| Boil | Medium-high |
| Finish | Medium |
Adjust Gradually By Food
Matching heat to the task is a great start, but you’ll need to fine-tune settings based on the food itself. Taste, texture, and size dictate whether you sear, simmer, or boil.
For a brown crust on steaks or vegetables, crank to high and sear briefly, then drop to medium to finish. This boosts food flavor without overcooking.
Delicate proteins like fish benefit from medium-low heat and gentle simmering to preserve moisture. Watch cooking timing closely.
For soups and pastas, bring to a focused boil, then reduce to a steady simmer to meld flavors and control evaporation.
Adjust in small increments on an induction cooker so changes are immediate. Rely on visual cues and a timer to match heat to the food’s needs.
Cook Faster and More Evenly: Essential Techniques
With an induction cooker, heat transfers much faster, so pans heat up quickly and respond right away when you change the settings. For even better results, use flat-bottomed, magnetic cookware. It helps transfer heat efficiently and promotes more uniform cooking across the surface. Together, these steps shorten cooking time, reduce hot spots, and help your food cook faster and more evenly.
Faster Heat Transfer
Want to cook faster and more evenly on your induction cooker? You’ll appreciate how induction improves heat conduction directly to the pan, giving you rapid temperature changes and better energy efficiency.
Use cookware that mates well with the cooktop, and keep surfaces clean for maximum contact.
- Pick flat, ferrous-bottom pans to speed heating and reduce heat loss.
- Preheat briefly on medium, then raise the power. This minimizes overshoot and conserves energy.
- Match the pan size to the zone so magnetic coupling stays strong and the response stays quick.
These habits let you react faster while maintaining control. Because induction transfers heat straight into the cookware, you’ll shave time off cooking without sacrificing consistency or wasting power.
Even Heat Distribution
How can you get truly even heat across the pan on an induction cooker? You’ll rely on precise temperature control and the right cookware materials.
Choose flat-bottomed, ferromagnetic pans with good thermal conductivity—stainless steel with an aluminum core or heavy-gauge cast iron work best.
Preheat gradually at medium settings so the magnetically induced heat spreads evenly. Avoid max power bursts that create hot spots.
Move food and rotate pans when searing to encourage uniform browning. For delicate sauces, drop to low heat and stir frequently to prevent localized scorching.
Use lids to trap steam and equalize temperatures across the surface. Monitor with a thermometer for consistency.
With deliberate cookware choices and steady temperature control, you’ll cook faster and more evenly.
Prevent Hazards: Safety Checks and Common Fixes
Because an induction cooker concentrates heat quickly, you should run simple safety checks before each use to prevent hazards. Check the cord and plug for frays, keep vents clear, and confirm the cooktop surface is clean and dry.
Good electrical safety habits reduce shock and fire risk, while basic appliance maintenance keeps performance reliable.
- Make sure cookware is induction-compatible and centered on the zone.
- Inspect power connections and reset any tripped breakers or GFCIs.
- Wipe spills promptly, and remove magnetic debris from the surface.
If you notice burning smells, sparks, or intermittent power, stop using the unit and unplug it.
Minor fixes you can do safely include tightening loose cable connections and replacing damaged cords with manufacturer-approved parts.
For internal faults, overheating, or persistent error codes, contact a qualified technician instead of attempting internal repairs.
Cut Energy Use and Make Cleanup Easier
Looking to save energy and cut cleanup time with your induction cooker? Use lids to trap heat and shorten cook times. You’ll get clear energy savings and reduce splatter.
Match pan size to the burner so the cooker only heats the area needed. Preheat briefly; induction heats fast, so long preheating wastes power.
Use residual heat: turn the cooker off a few minutes before the end and let the retained heat finish cooking.
For cleanup tips, wipe spills promptly with a soft cloth once the surface cools slightly. Hardened residue is harder to remove.
Use a nonabrasive cleaner or a dedicated induction-top cleaner and a plastic scraper for stuck-on food. Avoid steam cleaners or abrasive pads that can damage the glass surface.
Regularly clean under control knobs and around seams to prevent buildup. These small habits cut energy use and make daily maintenance quick and painless.
Frequently Asked Questions
Can Induction Cookers Trigger Pacemakers or Interfere With Medical Devices?
Yes, induction cookers can cause electromagnetic interference, but the risk to pacemakers and other medical devices is low for most users. You should check safety guidance from your device manufacturer and keep a safe distance, usually a few centimeters to a foot, from the cooktop while it’s on.
If you have concerns, consult your cardiologist or the device manufacturer for personalized advice, and follow published safety recommendations.
Can I Use Induction on Glass-Top or Ceramic Cookware?
Yes, you can use induction on glass-top or ceramic cookware only if the cookware has a magnetic base. You’ll need glass cookware labeled magnetic or specifically made for induction; plain glass won’t work.
Check ceramic compatibility by testing with a magnet: if it sticks to the pan’s bottom, it’ll heat on the cooktop. Avoid cookware that’s warped or cracked, since that can reduce efficiency and risk damage to the glass surface.
How Do I Know When My Induction Unit Needs Professional Repair?
You’ll know your induction unit needs professional repair if it shows persistent electrical issues like buzzing, sparks, tripping breakers, or failing to power on. You’ll also call a pro when error codes persist after resetting, heating’s inconsistent despite correct cookware, or touch controls stop responding.
Before that, do cleaning and maintenance. Keep vents clear, wipe spills, and use recommended cleaners. If problems continue, don’t delay professional service.
Are Induction Cookers Compatible With Induction-Ready Woks?
Like a key fitting a lock, yes, you can use induction-ready woks on your induction cooker. Choose cookware labeled specifically for magnetic induction to avoid compatibility concerns.
Check the wok’s flatness and magnetic base. Lightweight or rounded-bottom woks may not heat evenly. If the wok passes the magnetic test, you’ll get fast, efficient heating.
Always follow the manufacturer’s guidance for the best performance and safety.
Can I Use Induction Cooking Outdoors or in Portable Setups?
Yes, you can use induction cooking outdoors or in portable setups, but you’ll need to manage power and safety. You’ll want to guarantee portable compatibility with your power source (inverter, generator, or suitable outlet) and confirm your unit’s input limits.
Prioritize outdoor safety by keeping the cooker dry, level, and shaded, and by ensuring proper ventilation and stable cookware. With those precautions, induction works well for portable outdoor cooking.
Conclusion
You’ve got the basics down: choose induction-ready pans, level and clean the hob, center your cookware, and pick the right heat for searing, simmering, or boiling. Use tricks like lids, gentle stirring, and preheating to cook faster and more evenly, and do quick safety checks to avoid hazards.
You’ll save energy and clean up quicker. So go ahead, fire up your induction cooker, your kitchen’s pocket-sized time machine, and start cooking.